Technology Tips of the Week: Changing Permissions in Team Drives and Read & Write for Google
Changing Permissions in Team Drives
A few weeks ago, some of you may have set up a department “Team Drive”. Recently, I went into my Team Drive to change permissions and noticed that it looks a bit different than permissions in a Google Doc through Drive. Please watch the below tutorial to see how to change permissions in Team Drives.
Read & Write for Google
Read & Write for Google is a great Chrome extension for students that may need a little help with typing, writing, or spelling. Read & Write for Google has some great futures for use in Google Docs such as;
Speech to Text
Word Prediction
Highlighting
Reading text (and highlighting it simultaneously)
Text to Pictures
How can I use this in my class?
Read & Write for Google is used as assistive technology in classes. This tool can help struggling writers gain confidence and push through written assignments. Students can get helpful hints with spelling through word prediction tools, and hear the text being read to them if they have difficulty reading.
Technology Tips of the Week: Screencast-O-Matic and Explain Everything!
What is screencasting?
A screencast is recording the computer screen and adding narration. Screencasting is how I create the tutorials for technology! My favorite screencasting tools are Screencast-O-Matic (There is a free version, which should be just fine, or an upgraded “pro” version for $15/year. I do have the upgraded version ) and Explain Everything (preferably used on an iPad or touch Chromebook)! Screencast-O-Matic is NOT supported by iPad. You can use it on a PC or Mac!
Explain Everything is a fantastic tool for creating flipped lessons! Essentially Explain Everything is a multi-media screencasting and whiteboard tool used to create videos. Different from Screencast-O-Matic, you can upload images, handwrite (easier on the iPad), voiceover, add text, animate, insert images, and much more!
How can I use this in my class?
You can use a screencast to:
Flip your classroom
Double yourself to monitor student behavior (by playing your lesson while moving around your class and having proximity to students that may need a bit more support)
Create a review for a homework assignment
Make sub plans!
Demo a process to parents (such as the method you teach a math problem for example)
Peer tutoring (students that understand can make a screencast for other students)
In addition to what is essentially added class time, screencasting comes with a host of other advantages:
Students can watch the video as many times as they need to, in order to better understand complex concepts.
During the independent practice time of class, when it often seems that all of your students need you at once, students can be encouraged to access the screencast again on a class computer to review segments of it before asking for one-on-one help.
Students are getting the direct instruction (when you’re most likely to lose them) one-on-one at home, plugged into a computer, without as many distractions.
Since students are working on independent practice in class, the teacher can catch misconceptions early and offer interventions.
Students spend more collective time on independent practice — where they learn more, and where they’re practicing skills necessary for standardized tests.
Students can work collaboratively during the early stages of independent practice, which offers support to those who need it and helps solidify the learning of those offering support
When doing additional problems at home, students can refer back to the video for added help.
Absent students can stay on-track with little teacher intervention.
Screencasts are great when kids are studying for a test — they can essentially refer back to all the lessons from the entire year.
Screencasts make your job easier: if you screencast all your lessons this year, you can use them all again next year.
Technology Tip of the Week: EquatIO Chrome Extension
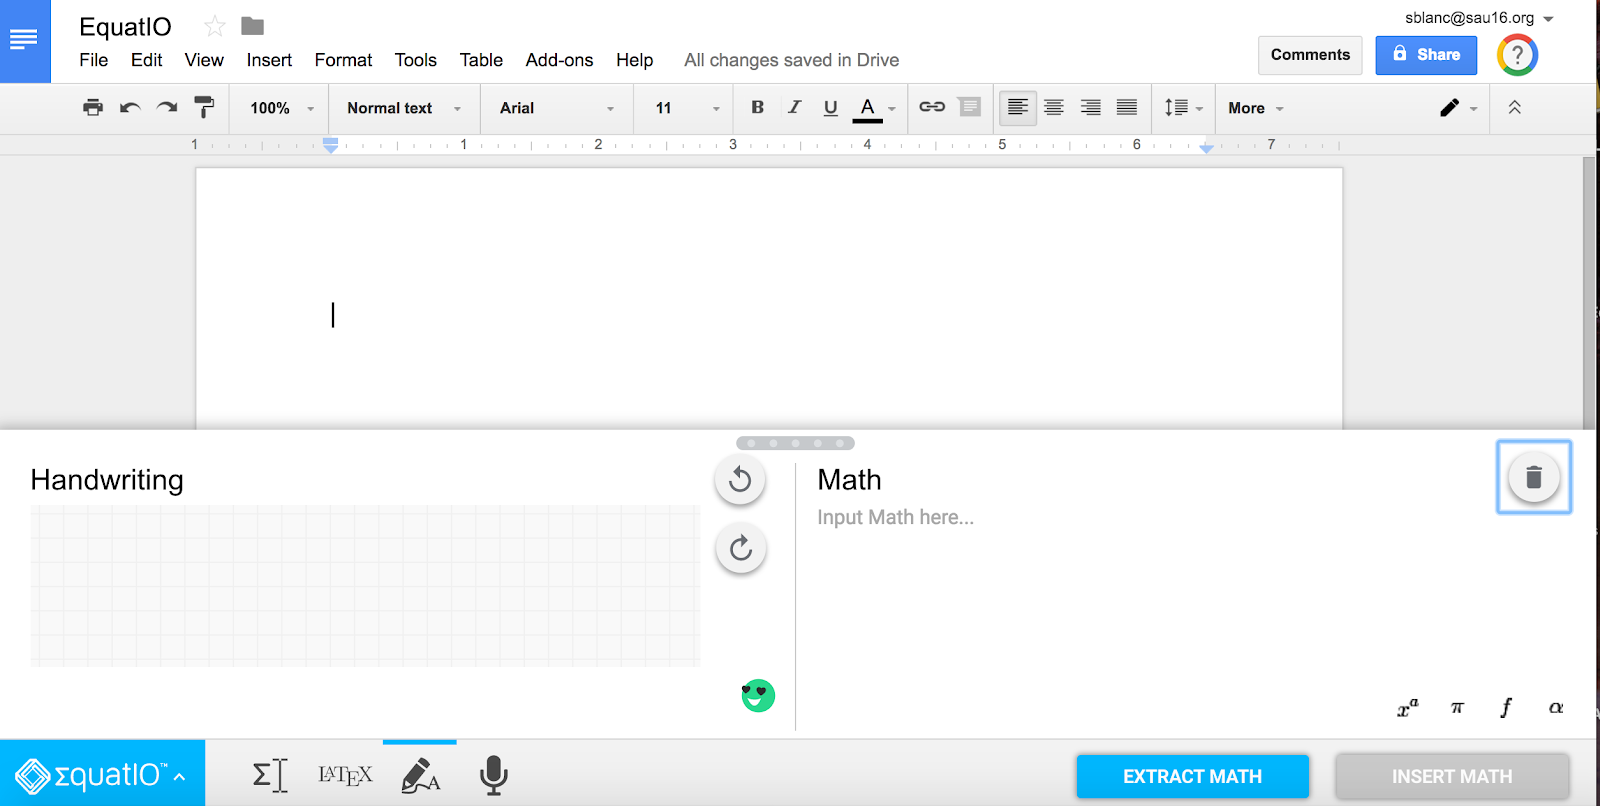
EquatIO is a chrome extension for writing math expressions in Google Docs AND Google Forms! You can translate voice to math, handwriting to math, use Latex, or choose from the expressions.
How can I use this in my class?
This can be used to create short formative assessments in Google Forms with math equations, and multiple choice tests, for example. You can use this for a variety of assignments (such as multiple students working on a problem in Google Docs, for example).
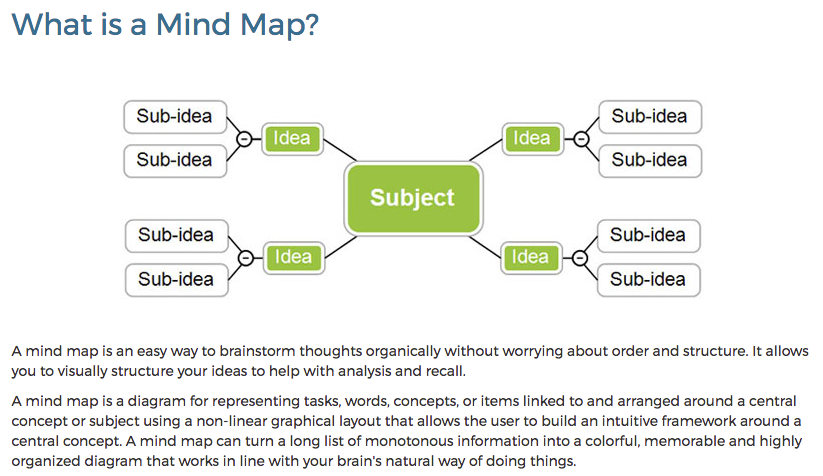
Mind mapping is a great way for students to use higher order thinking skills to organize theirthoughts on an issue, show the order of something, represent a time in history, for writing a paper, or even creating a website. There are MANY ways to use mind maps in your classes!
HERE is an article of 10 ways to use mind mapping!
If you missed the email I sent out on Friday, April 28th, then I will recap!
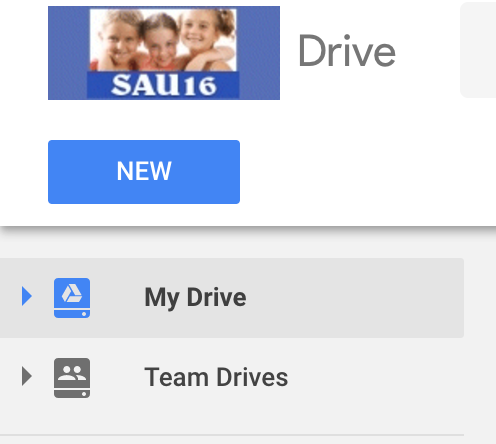
When you open your Google Drive you will notice that there is now a "Team Drive" option (currently only available for staff).
Team Drives (for Google directions click on link) are essentially a shared folder that makes EVERYONE in the team an "owner" of the documents it contains. This means that if one person creates the document and leaves (for example), the document is still available for the team in Team Drives.
*At present you cannot share Google Sites or Google Maps into Team Drives.
Why should I use Team Drive?
Team Drive would be a great way to share department documents and have one location to access them. *I want to caution you that if you are using a Google Doc in the Team Drive you will still need to "make a copy" if you want to make unique changes to the document for yourself. Whoever edits the document, changes the existing document for all, unless you make a copy!
Team Drive is also great for committees and other groups.
How do I get documents in the Team Drive folder?
You can create them new right from the Team Drive, or drag and drop them into the folder.
**Caution- If you try to "copy" your documents from Google Drive to put in Team Drive, it will just make a copy to your existing Google Drive. I highly recommend to just move the existing document (by dragging and dropping it) into Team Drive and not copy it. You can also upload documents from your network folder (or another folder on your computer) if you wish. Remember that Google Docs are live documents that change for everyone when the document is changed.
Technology Tip of the Week #2: Google My Maps and Google Tour Builder!
I recently started using Google My Maps. Google My Maps allows you to create your own maps in Google Earth. For example, I created THIS in Google My Maps for an upcoming trip I am taking. Google My Maps can import from a Google Sheet too! Check out this video!
I was able to map out the locations that I know of, and also make directions from location to location to get an idea of how long each leg will take to drive. Using Google My Maps was how I discovered Google Tour Builder.
Google Tour Builder does a similar task of allowing you to compile locations on Google Maps. I like this version better for teachers to use this as a virtual tour (as you can add text, images, and more to each location you pick!). I will most likely use this to create a memory of my trip! I can envision working on the memories for each location and adding pictures to create a digital story on Google Maps! I think this has a lot of potential for students and teachers!
How can I use this in my class?
Both Google My Maps and Google Tour Builder could be used for both teachers and students to present information. For example, recently the French students went on a trip to France. They could create a digital story of their trip, adding images, and text in Google Tour Builder. A history teacher may want to use this to show a time period with significant events/locations. An English teacher could have students map locations in a book they are reading, or an Art Teacher could have students map artists (where they lived for example from a painting). Endless ideas!
Technology Tip of the Week: Sign out of Chrome (not just Gmail)!
It is ALMOST April vacation! We got this!
I have noticed that some students (and staff) may not realize that they are not only signed into Gmail, but they are also signed into Google Chrome as well. It happens frequently that people are forgetting, or not knowing, that they are still signed in and do not sign out. This could leave your account exposed (Gmail, Docs, Classroom, etc.). You want to protect your data and privacy! I came across this article by Alice Keeler, that I would like to share.
The article highlights two ways to ensure you are logged out of Chrome. One way is CNTRL+SHIFT+Q+Q (and Command+SHIFT+Q+Q on a Mac). This is a good practice to teach the students and yourself! See the article above for logging out through Gmail!
Lastly, you can just make sure to sign out of Chrome by noticing the following...
This is a screenshot from Gmail (looks the same on a Chromebook or Mac). When you “log off” using your icon in the right corner, you are ONLY logging out of Gmail, not Chrome!
Using a Chromebook, the lower right corner will have an icon. Press the icon to open the box you see in the picture. In the top of the box click on “Sign Out”.
This signs you out of Google Chrome on a Chromebook!
This is a screenshot from a Mac. You can see two different places I am logged in. One is Gmail, and the other is Google Chrome!
Be sure you log out of both if you are using a shared computer!
How can I use this in my class?
You can demonstrate to your students and have them practice the key command.
CNTRL + SHIFT + Q+Q
They will be practicing the safe way to log off of shared computers!
Technology Tip of the Week: Assign Action Items to Specific People on Google Docs, Sheets, and Slides!
The ability to “assign a task” to someone using the comment box is a great way to tackle meeting agenda to do lists, assign specific students a task if they are working on a group document or project, or to tag a person not on the document to assign them a task. When the action of assigning a task takes place in a Google Doc, for example, the person will be sent an email notifying them of the action.
HERE is a link to the support page on how you can add action items in G Suite.
Watch my tutorial!
When you go to your Google Drive, you will see the document has a number on it.
How can I use this in my class?
Student group work assignments: Group project on Google Docs, Sheets, or Slides, assign each student set tasks for members to do using the “assign” feature.
Teachers could assign a task for a student to improve the document, instead of just leaving a comment.
For group meeting minutes, I love this feature for productivity. Student or staff group meetings can add assign tasks to be more productive in completing tasks.
Google Keep is a versatile tool that can be used for note-taking and online bookmarking among other things! With Google Keep, you can create and edit notes, organize notes, bookmarks, and lists, and search and share notes! Google Keep has recently been added to the core G Suite applications. This means that you can now insert from Google Keep into Google Docs!
You can use Google Keep to create labels for your classes and save page links to them. You could easily drop the links onto a Google Doc to share to Google Classroom.
Students could create their own Google Keep labels and find resources for projects, etc.
 Technology Tips of the Week: Changing Permissions in Team Drives and Read & Write for Google